Saturday, 30 August 2014

Ginkgo shawlette - first, second, third and so on row (pictorial, bilingual)

Back again with the tutorial for the shawlette,
kembali ke tutorial membuat shawlette,

Now that we already done with the garter stitch tab, we are on to the first row.
sekarang kita sudah menyelesaikan garter stitch tab, dan kita lanjut ke baris pertama.

Basically, you have to do this pattern:
Row 3: k2 (edgings), yo, k, yo, k (center st), yo, k, yo, k2 (edgings)
I made it into: k2, yo, k, yo, put marker, k, yo, k, yo, k2.

Row 4: k2 (edgings), purl to marker, slip marker, purl to last 2 sts, k2 (edgings).


Let's start!


Wait... let me remove my breakfast...


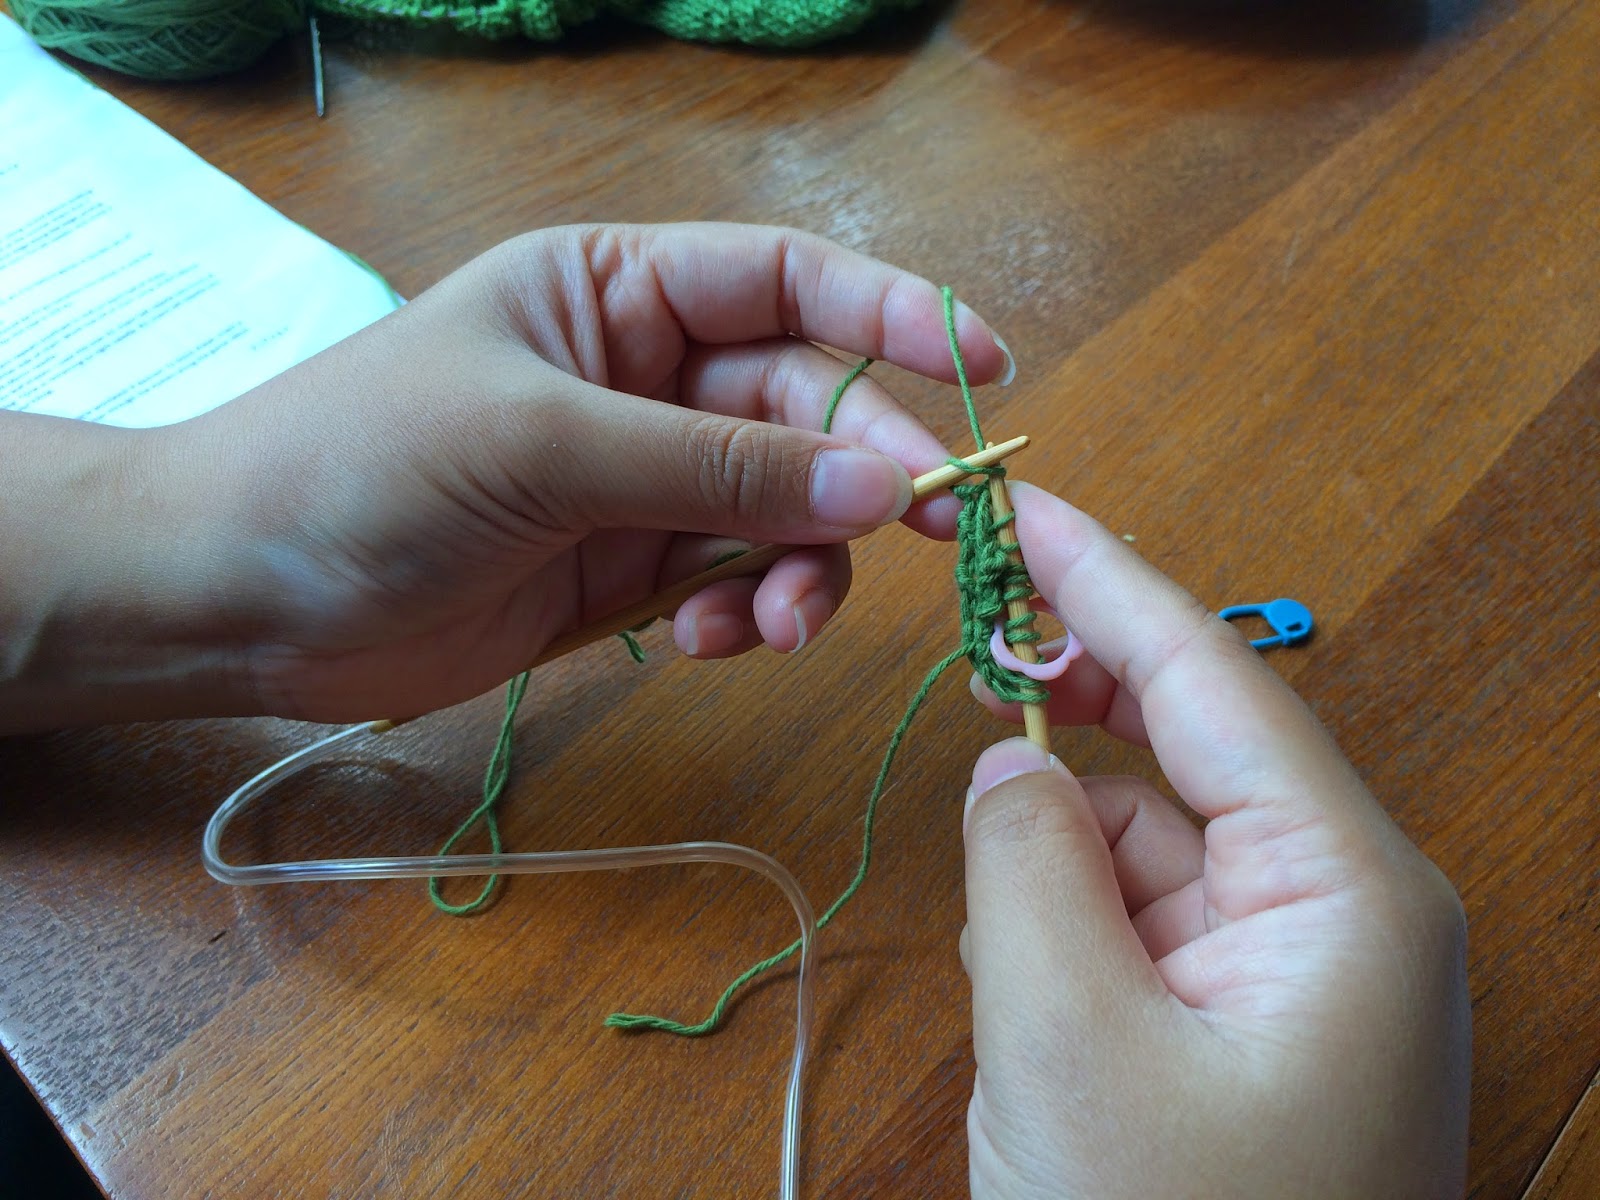
k2 the edgings.
knit kedua sts pinggiran syal


yarn over.


knit and yarn over again.


bring the marker in!
masukan cincin penanda


back to knit (center st)
kembali merajut (st tengah)


 yarn over


knit and  yarn over.


knit the 2 edging sts.
knit kedua sts pinggir.


Finish row 1!
baris pertama selesai!

Second row, knit 2 edging sts.
Baris kedua, knit kedua sts pinggiran.


Purl until you meet the marker.
purl hingga ketemu cincin penanda.


slip the marker from left to right needle
pindahkan penanda dari jarum kiri ke kanan


Back to purling, until the last 2 sts.
kembali purl hingga 2 sts tersisa di jarum kiri.


knit 2 sts of the edging sts.
Knit kedua sts dari sts pinggir. 


Finish row 2!
baris kedua selesai!


For row 3 and subsequent odd rows, always remember:
Jadi, untuk baris 3 dan ganjil seterusnya, ingat pola berikut:

k2 (edgings), yo, knit to marker, yo, slip marker, knit center st, yo, knit to last 2 sts, yo, k2 (edgings).

For row 4 and subsequent even rows, you need to:
untuk baris 4 dan genap seterusnya, anda harus:
k2 (edgings), purl to marker, slip marker, purl to 2 sts left, k2 (edgings).

This video will describe better (I speak Indonesian, but I give english caption).


- why did I use only 1 marker?
You can use as many as you wish. I put just one so that I know that I am on the right side (RS) or wrong side (WS).


Garter stitch Tab tutorial (photos) - bilingual

Hi everyone,

back again with garter stitch tutorial with photos instead of video.

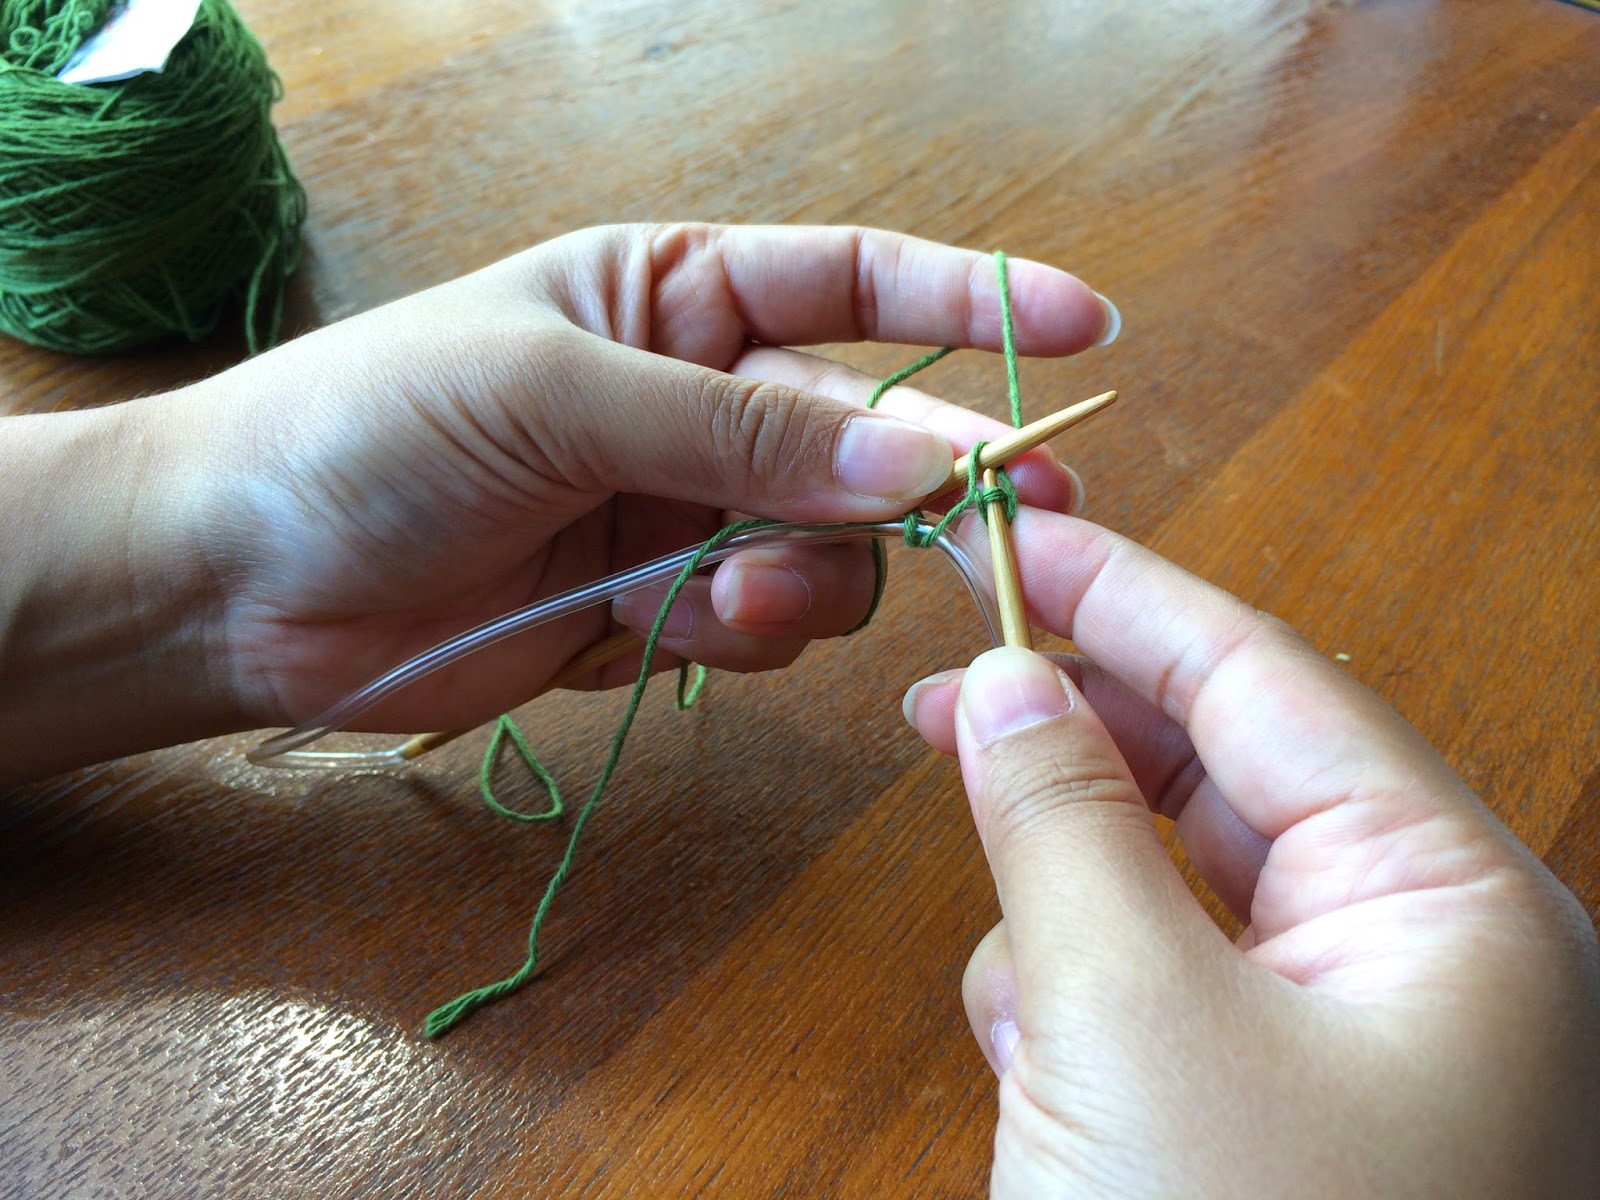
First, make a slip knot
pertama-tama, buat slip knot untuk memulai


Bring both needle together, one on top of the other. And then, you pull the yarn in between both needles. Hold the other end of the yarn to keep the st still.
Pegang kedua jarum bersebelahan, yang satu ada di atas yang lainnya. Kemudian, tarik benang ke tengah antara kedua jarum. Pegang ujung lain dari benang supaya st tidak kemana-mana.


Bring the yarn to the front, and then over to the back of the top needle
bawa benang ke arah atas, lalu ke belakang jarum yang ada di atas.


Bring back the yarn to the in between of the needles.
Bawa kembali benang ke antara kedua jarum. 


Bring the yarn down to the front of the lower needle, and then to the back of the needle.
bawa benang ke arah bawah di depan jarum yang ada di bawah, lalu ke belakang jarum.


Bring back the yarn into the in between of the needles.
bawa kembali benang ke antara kedua jarum.


Bring the yarn again to circle the top needle, and bring back to the in between of the needles.
bawa kembali benang mengelilingi jarum yang atas, dan bawa kembai ke antara jarum.


Rotate the needles from left to right. See where the needles are now pointing.
Putar jarum dari arah kiri ke arah kanan. Lihat arah jarum sekarang menunjuk ke mana. 


Pull the needle that is currently positioned below from the sts, now the sts are on the cable.
Tarik jarum yang sekarang posisinya ada di bawah dan keluarkan sts dari jarum, sekarang sts ada di kabel jarum.


The pulled needle became right needle, and ready to knit.
Jarum yang tadi ditarik sekarang menjadi jarum yang di kanan, dan siap untuk merajut. 


Knit the first st.
tusuk atas (knit aja lah yah) st pertama.


Knit the second stitch.
knit st kedua.


We have finished the first row of the garter tab. Turn the work and knit again, until you complete row 7.
Sekarang kita sudah selesai mengerjakan baris pertama dari garter tab. Putar rajutan dan mulai knit kembali hingga baris ke-7.


We have finished the 7th row. Now, we have 2 sts on our right needle, and we are ready to pick up 3 sts from the garter ridges.
Sekarang kita sudah selesaikan baris ke-7. Kita punya 2 sts di jarum kanan, dan kita siap untuk membuat 3 sts baru dari pinggiran garter.


Pick up the first garter ridge with your left needle, and knit from it.
Ambil dan angkat ridge (jendolan?) garter pertama dengan menggunakan jarum kiri, lalu knit dari st tersebut.


Do the same on the second and third ridges.
Lakukan hal yang sama pada ridge/jendolan kedua dan ketiga.


Now you have 5 sts on your right needles. You are going to knit the 2 sts that is still "hanging" in the cable.
Sekarang sudah ada 5 sts di jarum kanan. Kita akan merajut 2 sts yang masih menggantung di kabel jarum.


First, pull the cable so that the sts on the cable moved onto the left needle.
Pertama-tama, tarik kabel jarum sehingga 2 sts yang menggantung di kabel tersebut pindah ke atas jarum kiri.


Knit the sts on the left needle.
Rajut kedua sts di jarum kiri.


And now you have 7 sts on your right needle.
Sekarang sudah ada 7 sts di jarum kanan. 


This garter tab later will knitted and it's the garter tab just above the two lace hole pair on the below shawl.
Garter tab akan menjadi garter tab yang terletak tepat di atas sepasang lubang lace di shawl bawah ini. 


It looks just straight enough and you can't barely see the start of the tab.
Tab terlihat lurus dan titik awal dari tab nyaris tidak bisa dibedakan. 
 
Template by suckmylolly.com